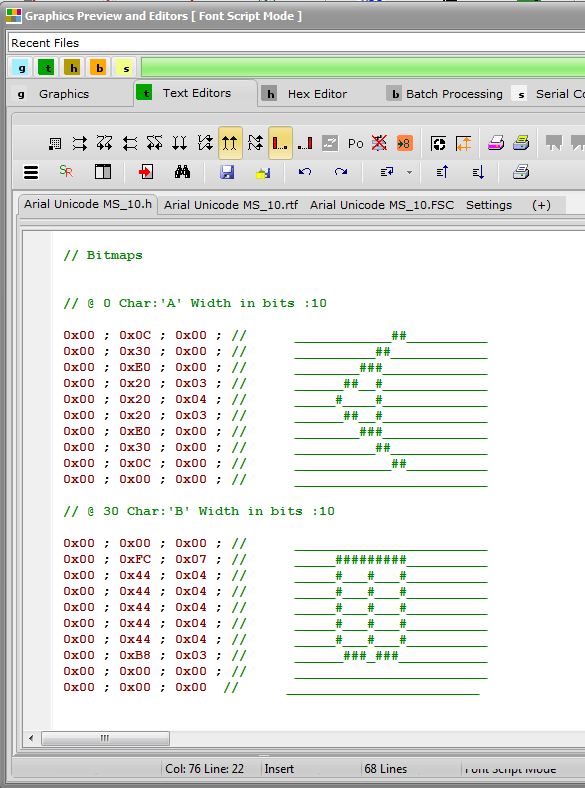
Bitmap2LCD is a tool for programming small Graphic LCDs in embedded systems.
Import System Chars into the Font Editor
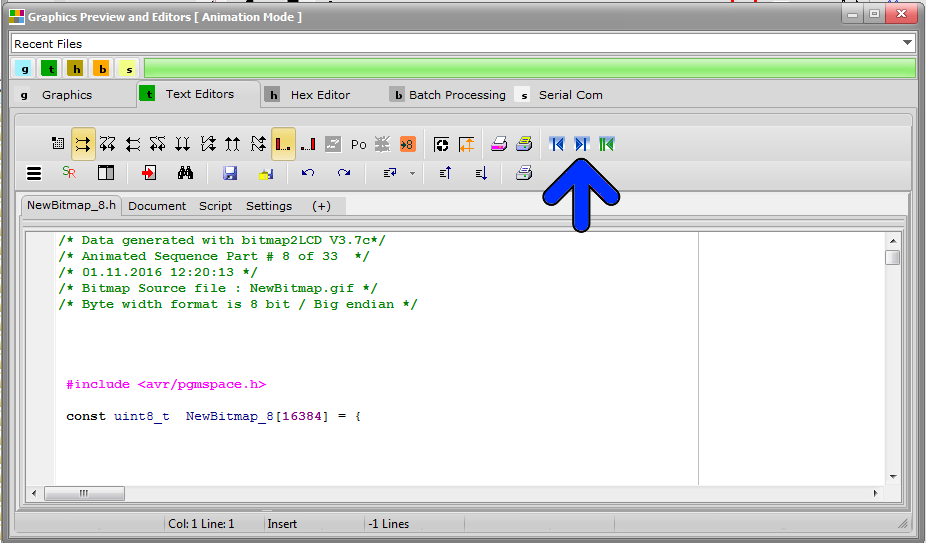
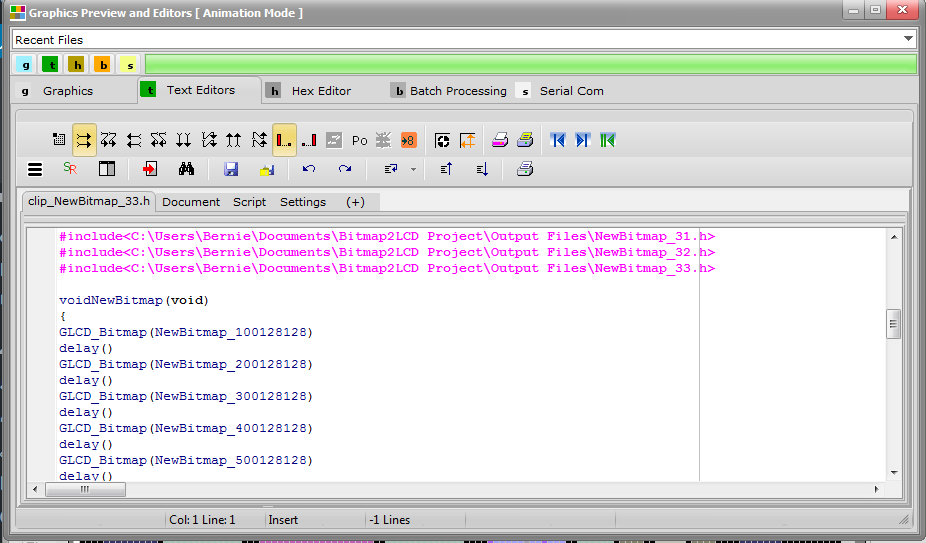
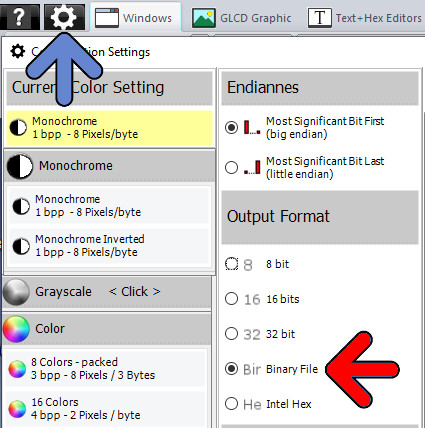
Update V3.7e – V3.8z Standard Edition
From Version V3.9 watch this video
[ Editable Fonts : up to 256 colors ]

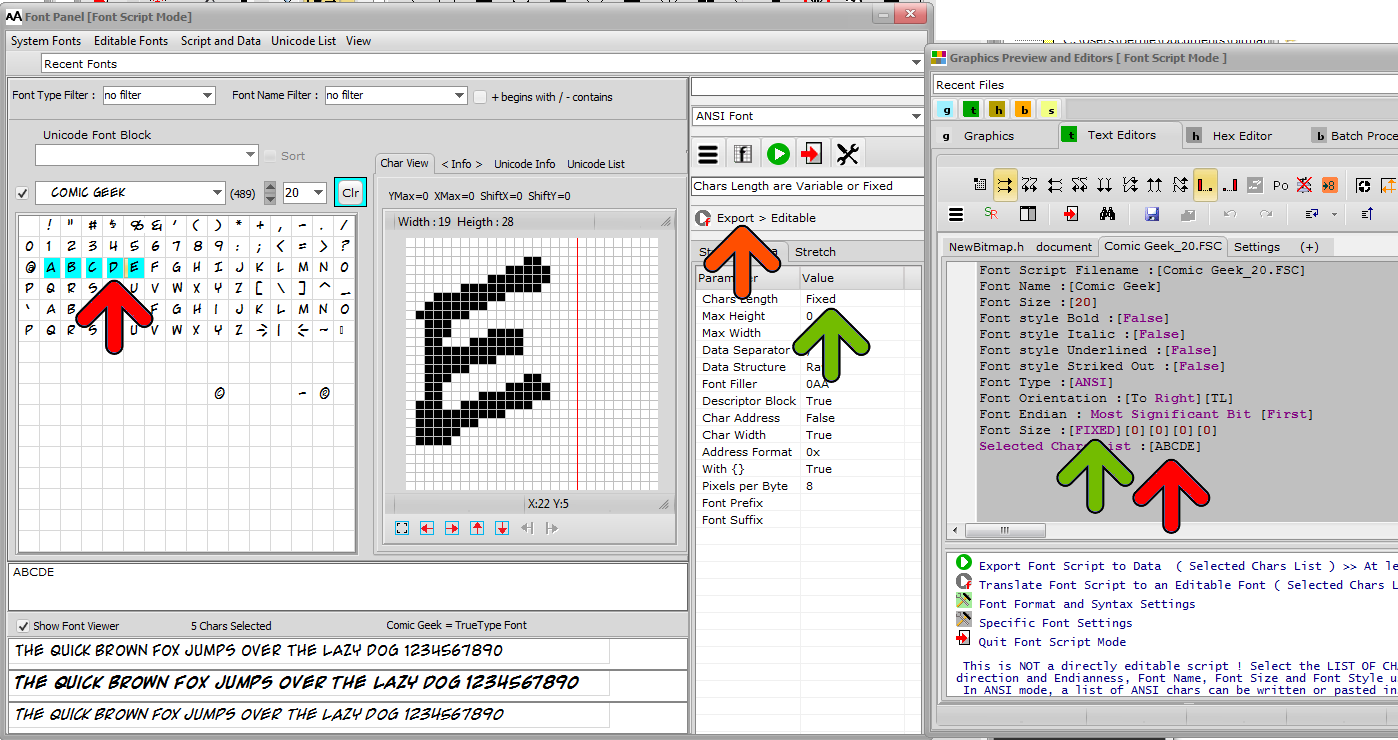
Let’s see how we can export selected characters out of a Windows System font into the Font Editor of Bitmap2LCD :
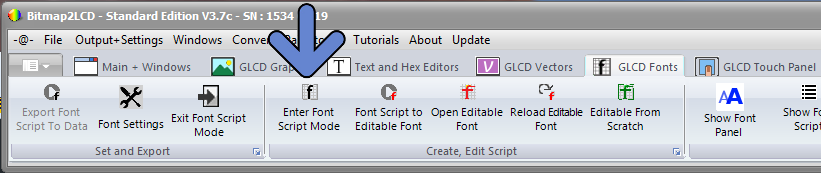
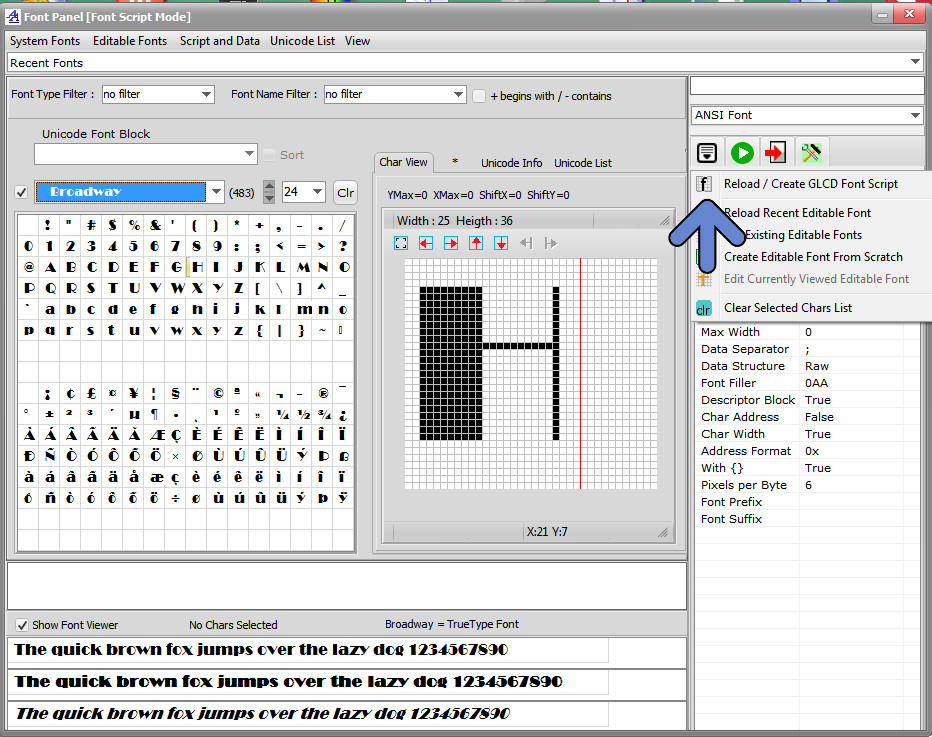
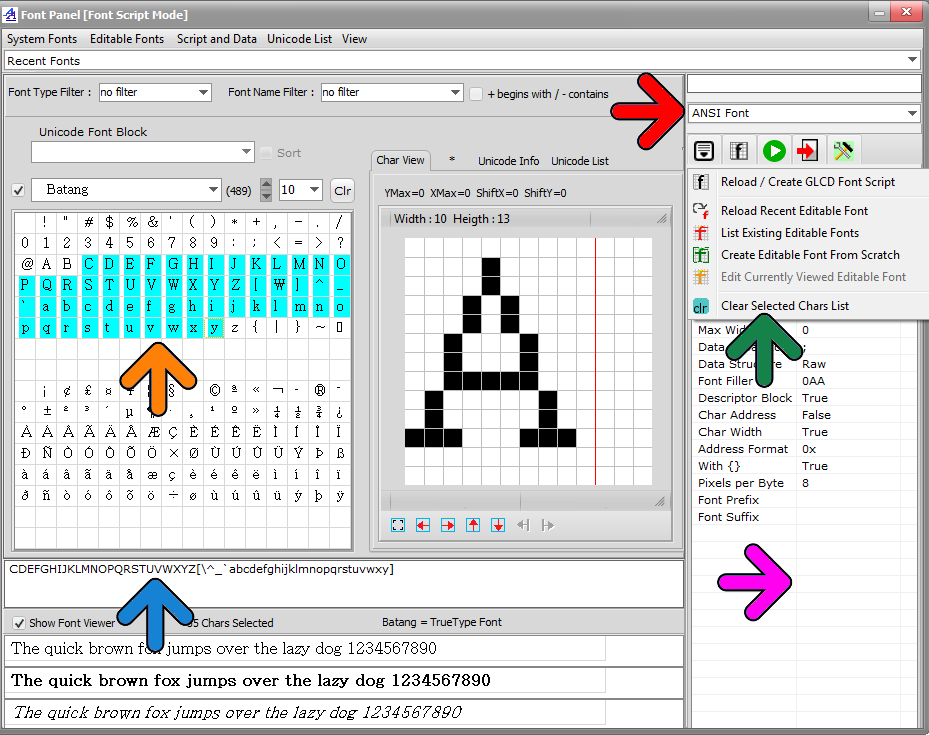
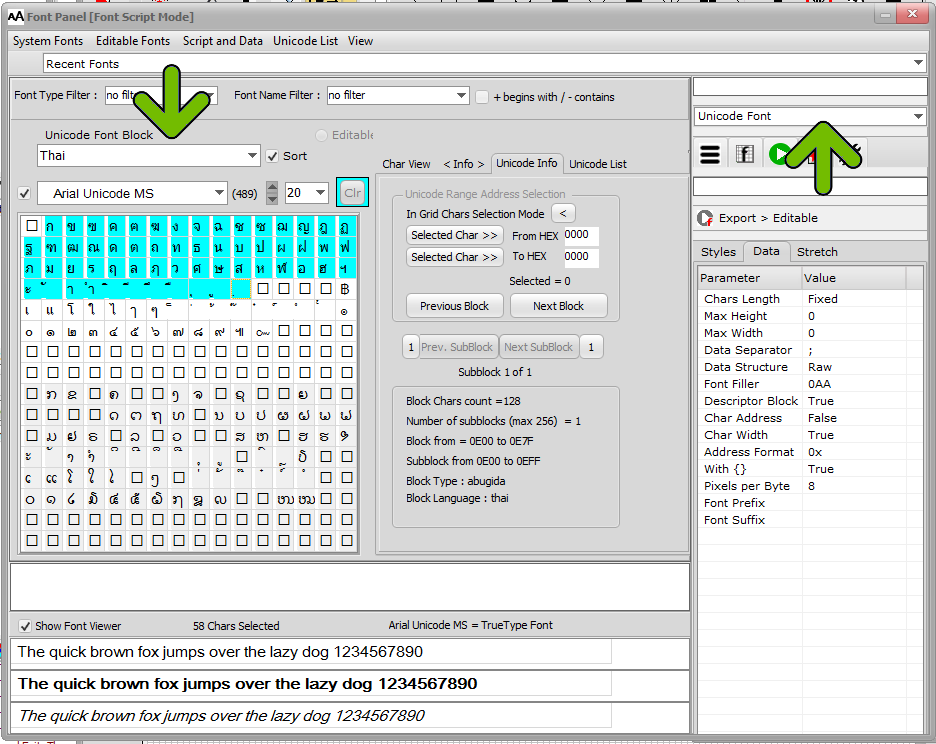
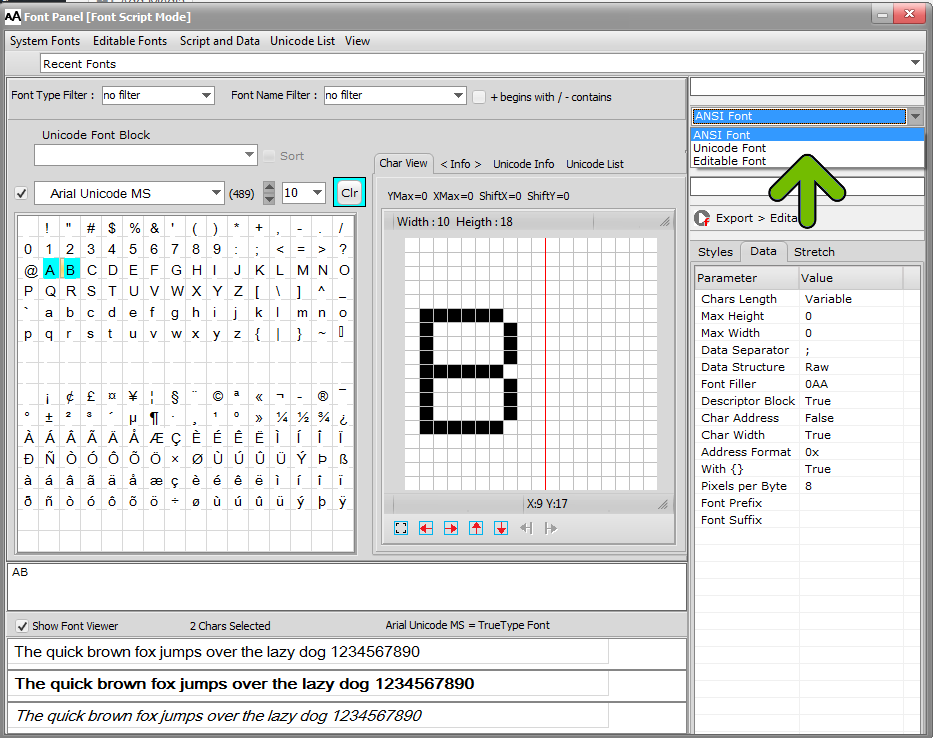
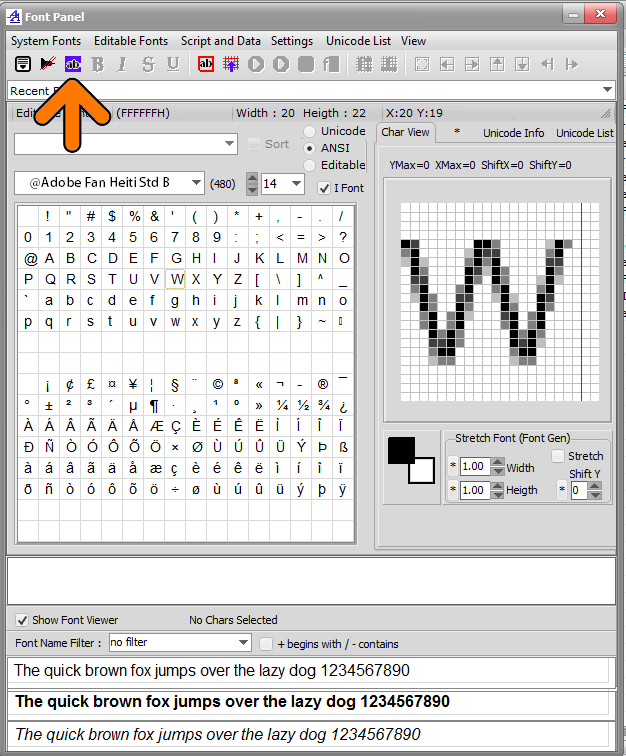
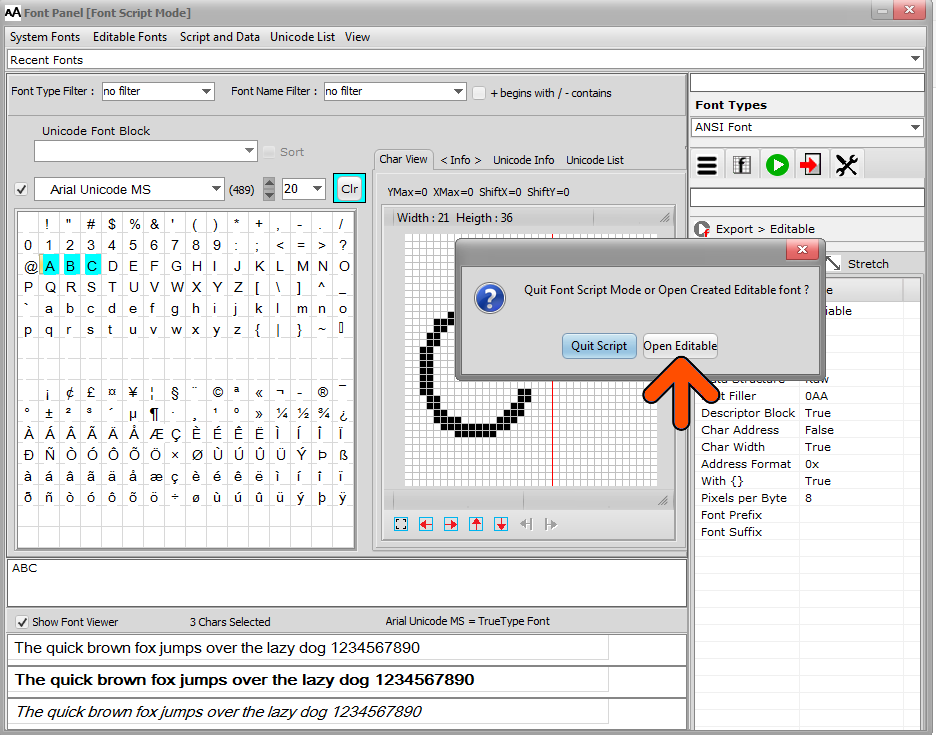
- Create a GLCD Font Script by clicking the Main menu item or the Font Panel Button (blue arrow)
- Choose a Font Name and define its size
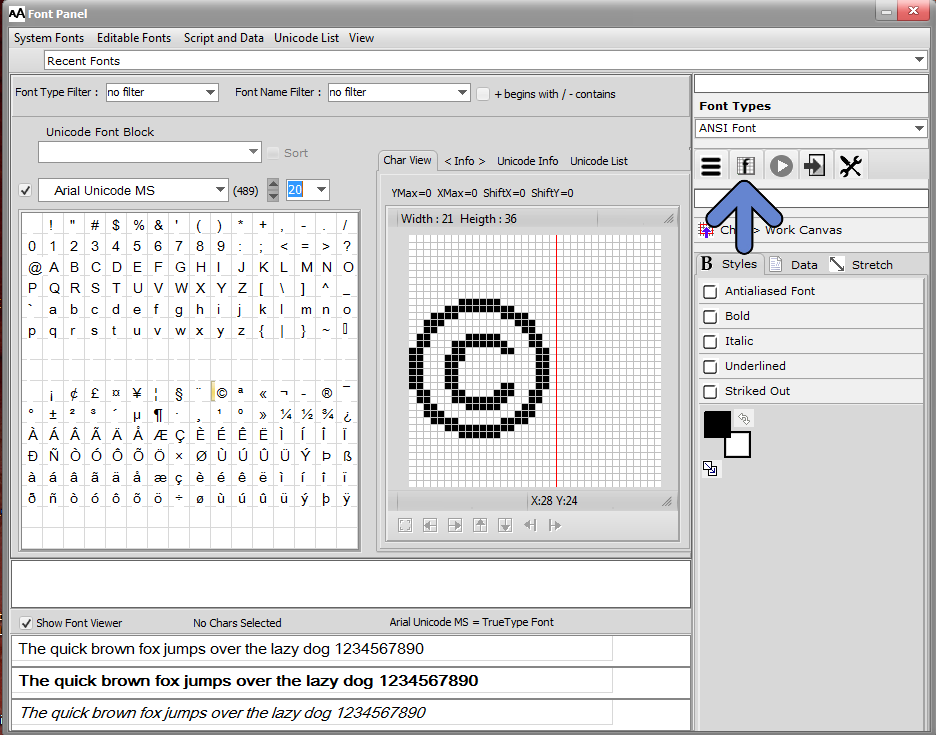
- In the “Ascii Grid“, select the chars you want to export, here for example A, B and C (red arrow)
- In the menu, click on item ”
 Export > Editable (Translate LCD Font Script to an Editable Font“ (green arrow)
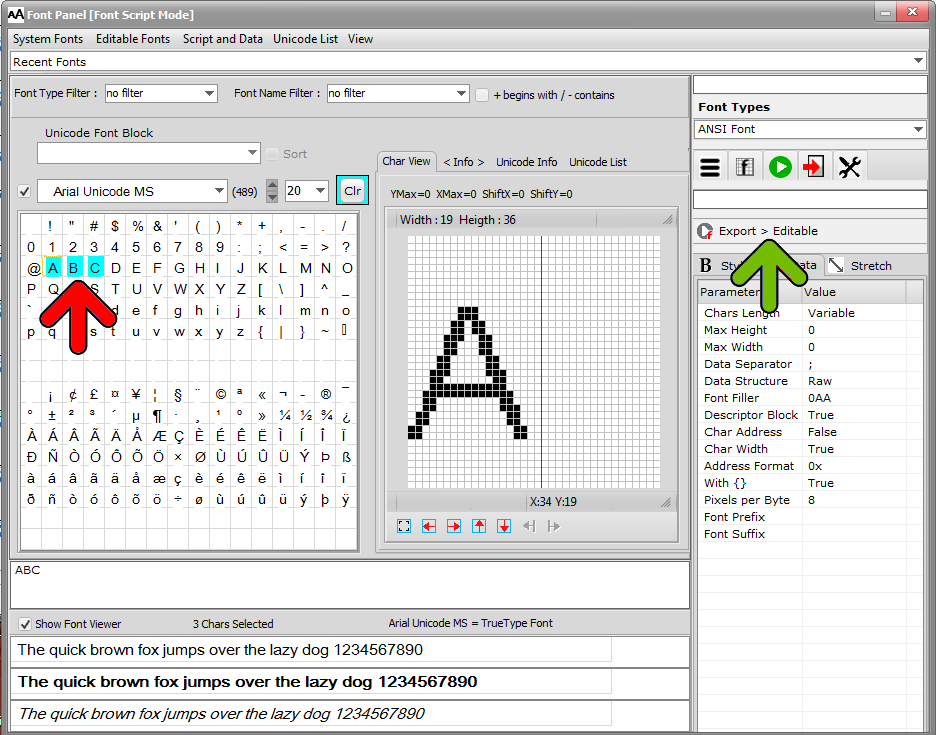
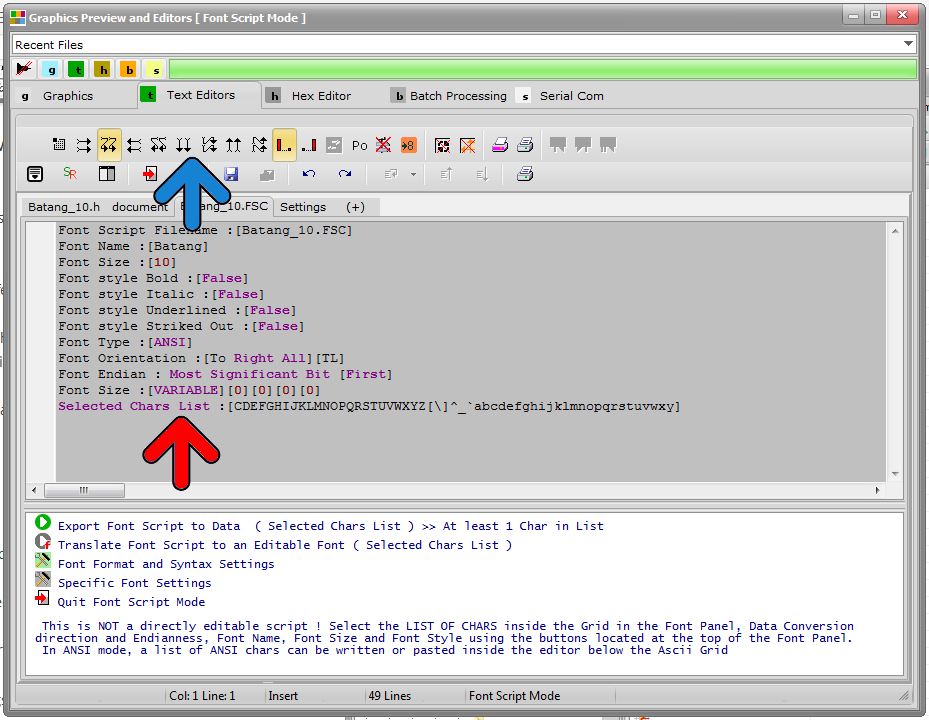
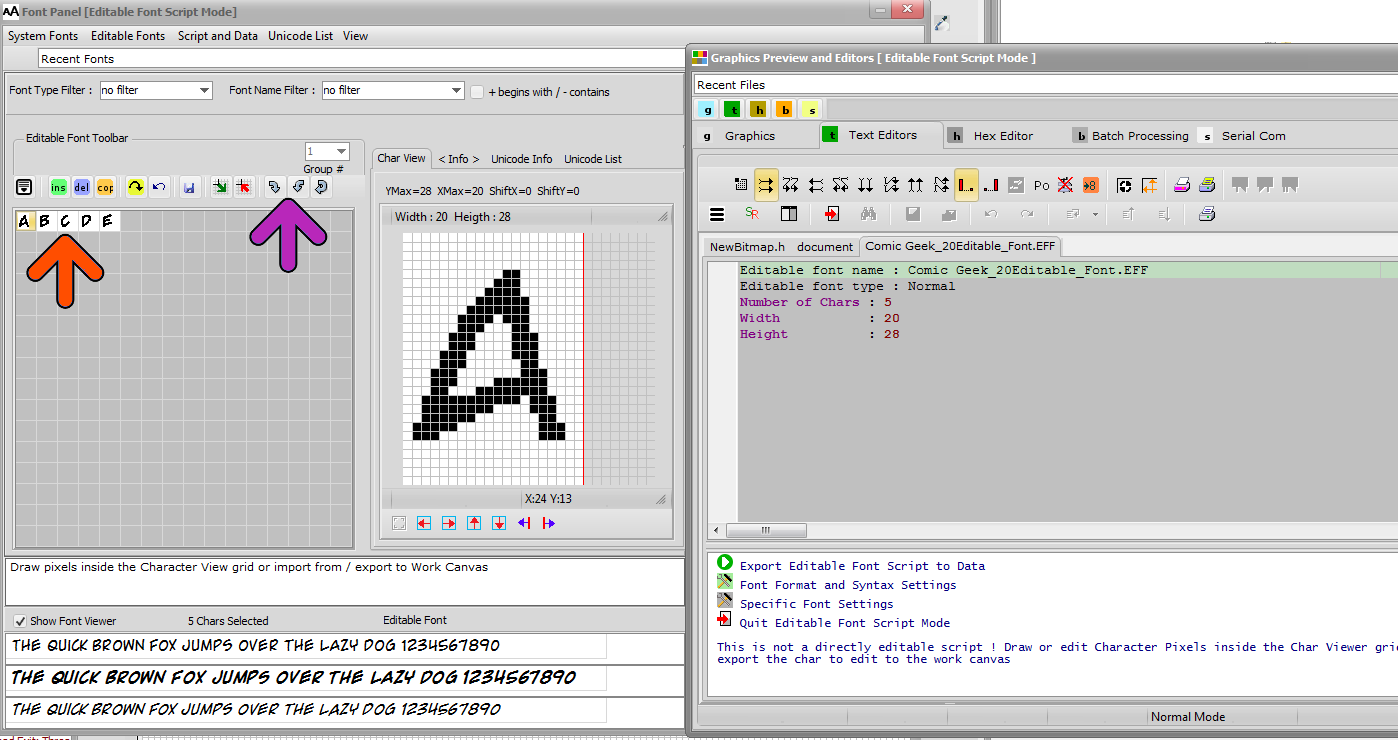
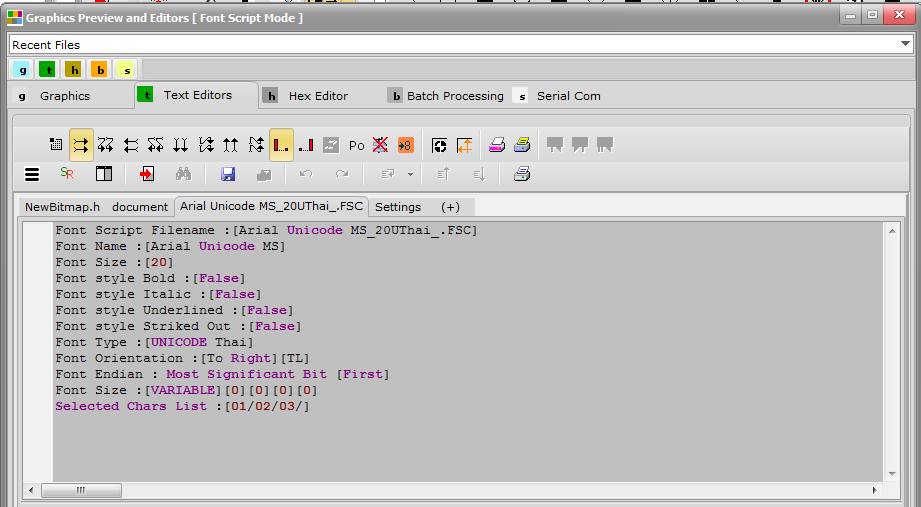
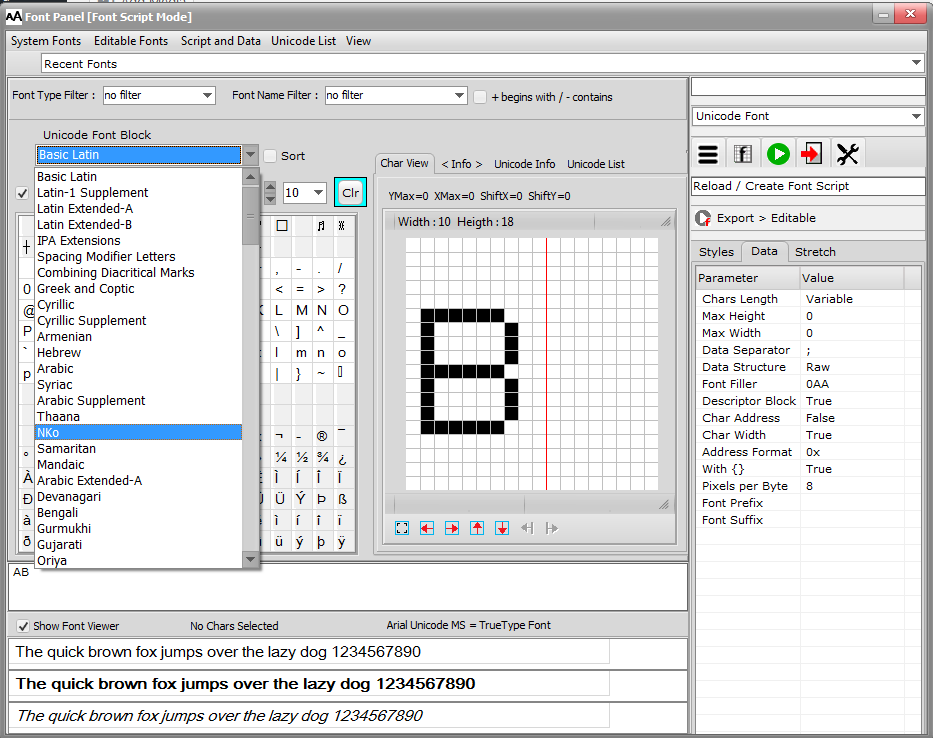
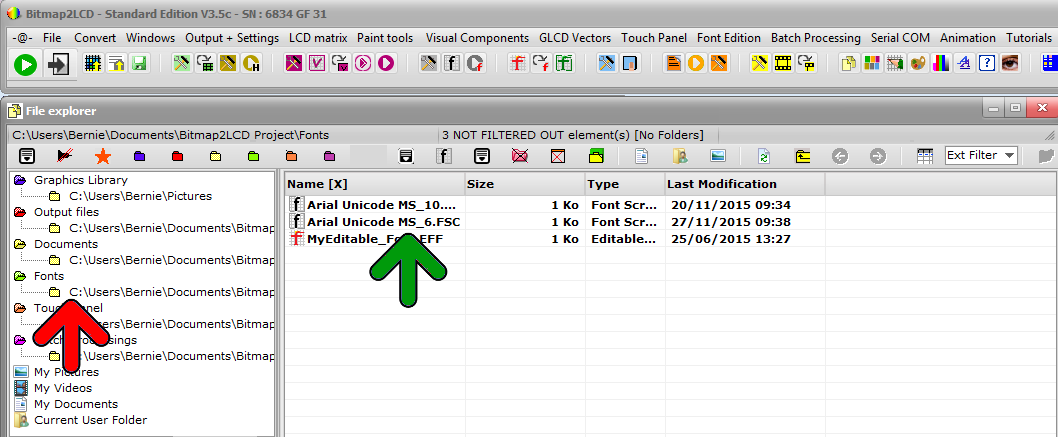
The “editable font” has been created. It is an Editable Font File (EFF) and an associated GIF file, which is the catalogue of char bitmaps. Both files are located in the Fonts folder.
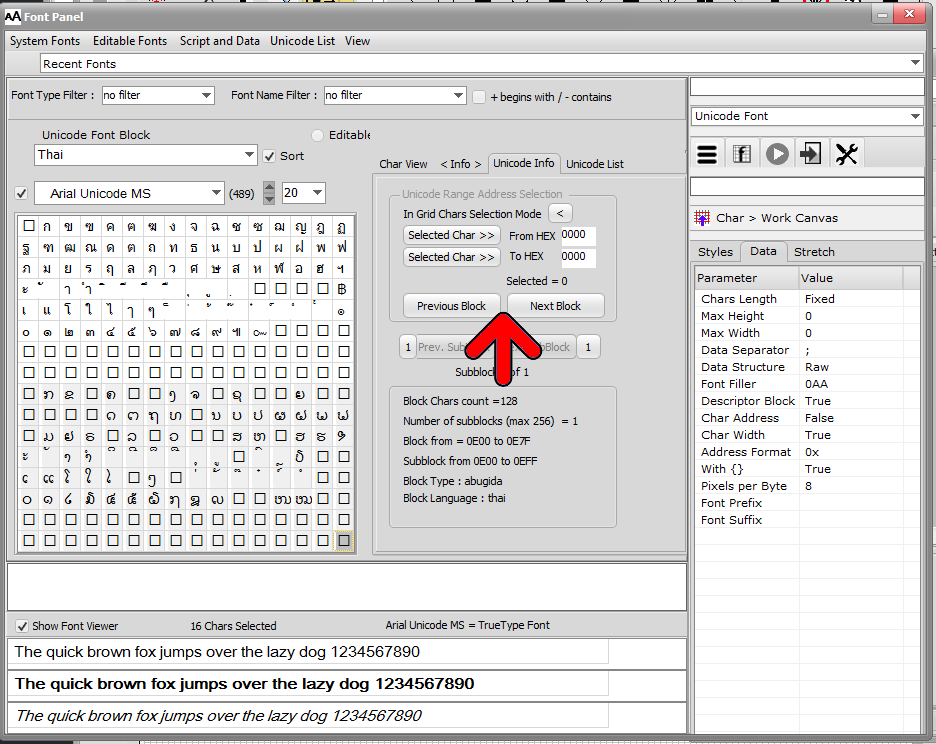
- Quit Font Script Creator mode and Open editable (orange Arrow)
In this example, the selected font name and font size were Aria Unicode MS and 20, in this case the filename of the file will be Arial Unicode MS_20Editable_Font.EFF
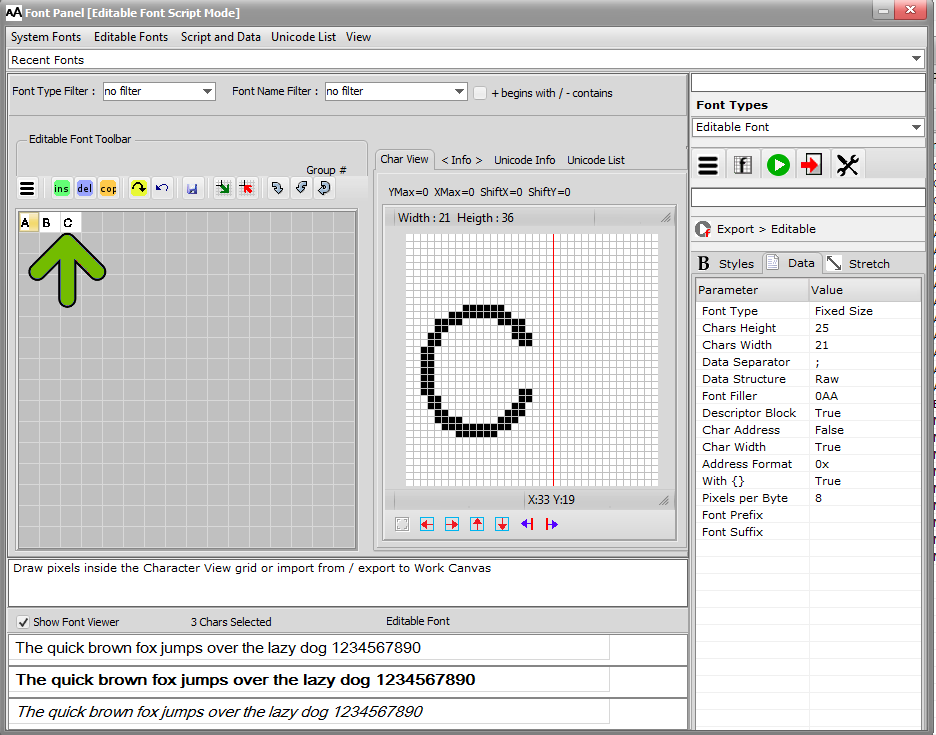
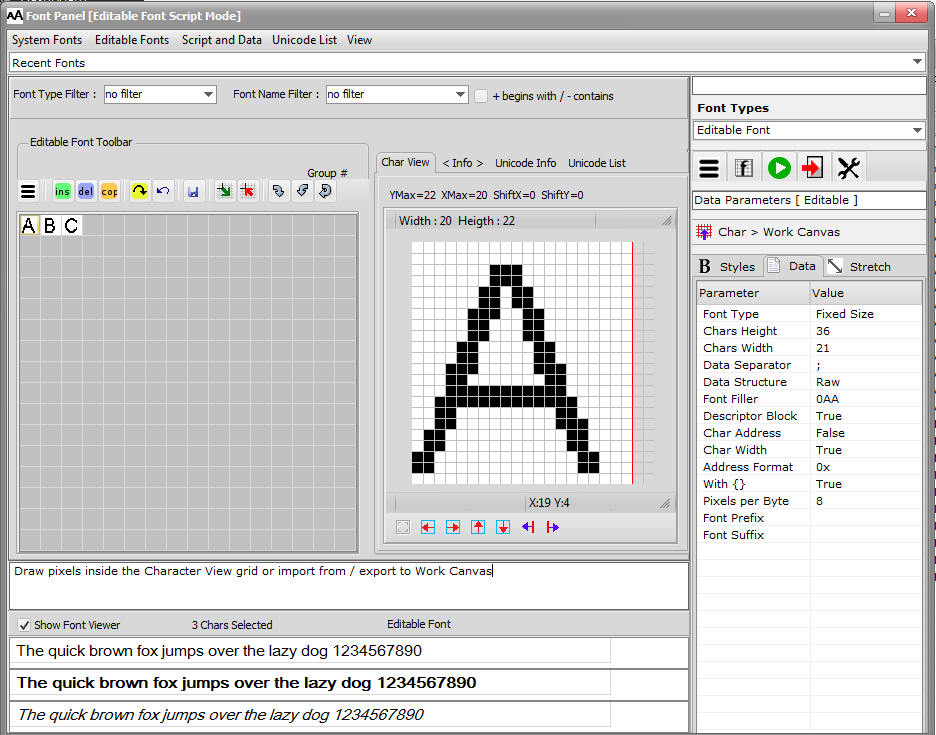
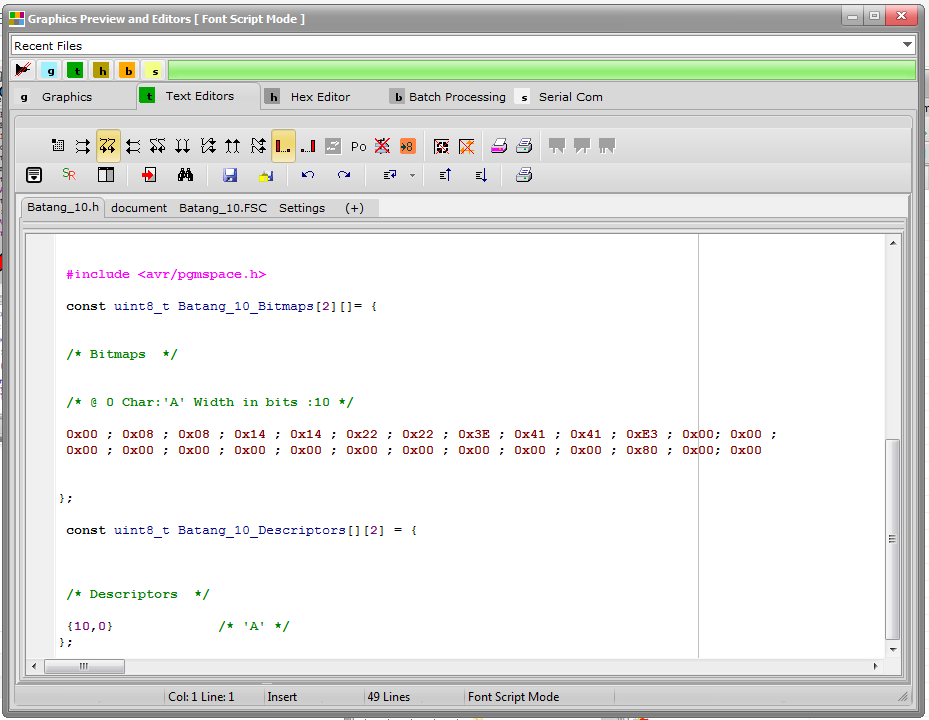
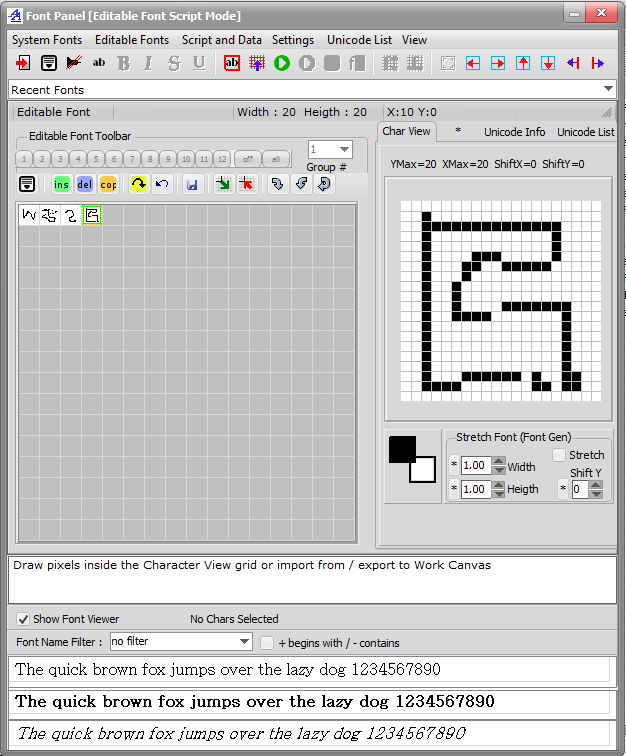
The patterns of theses 3 chars (green Arrow) can now be freely edited.
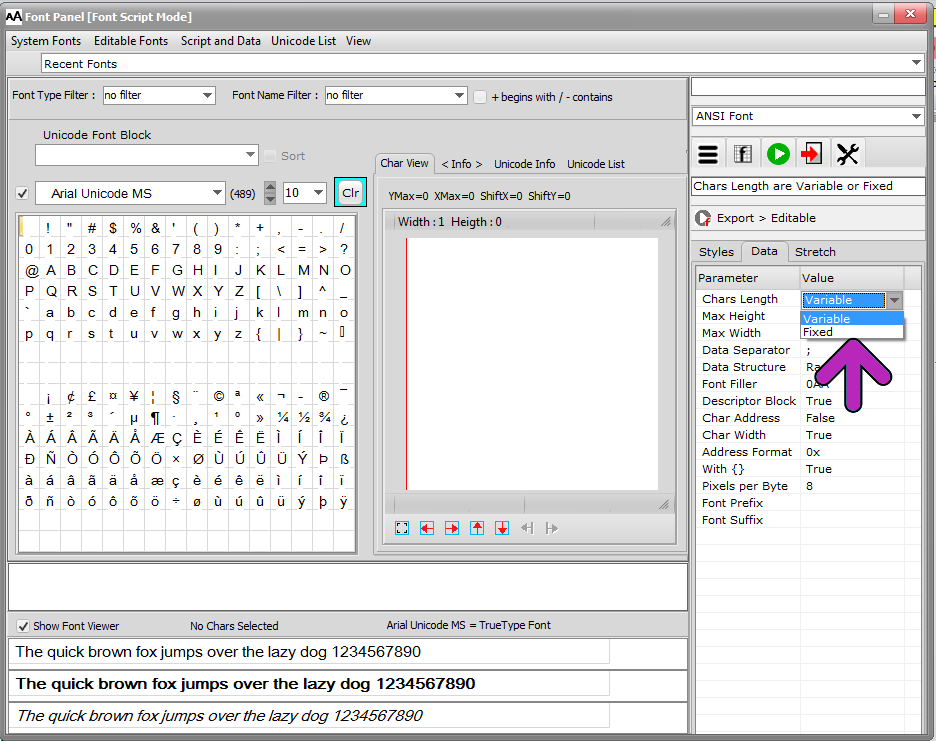
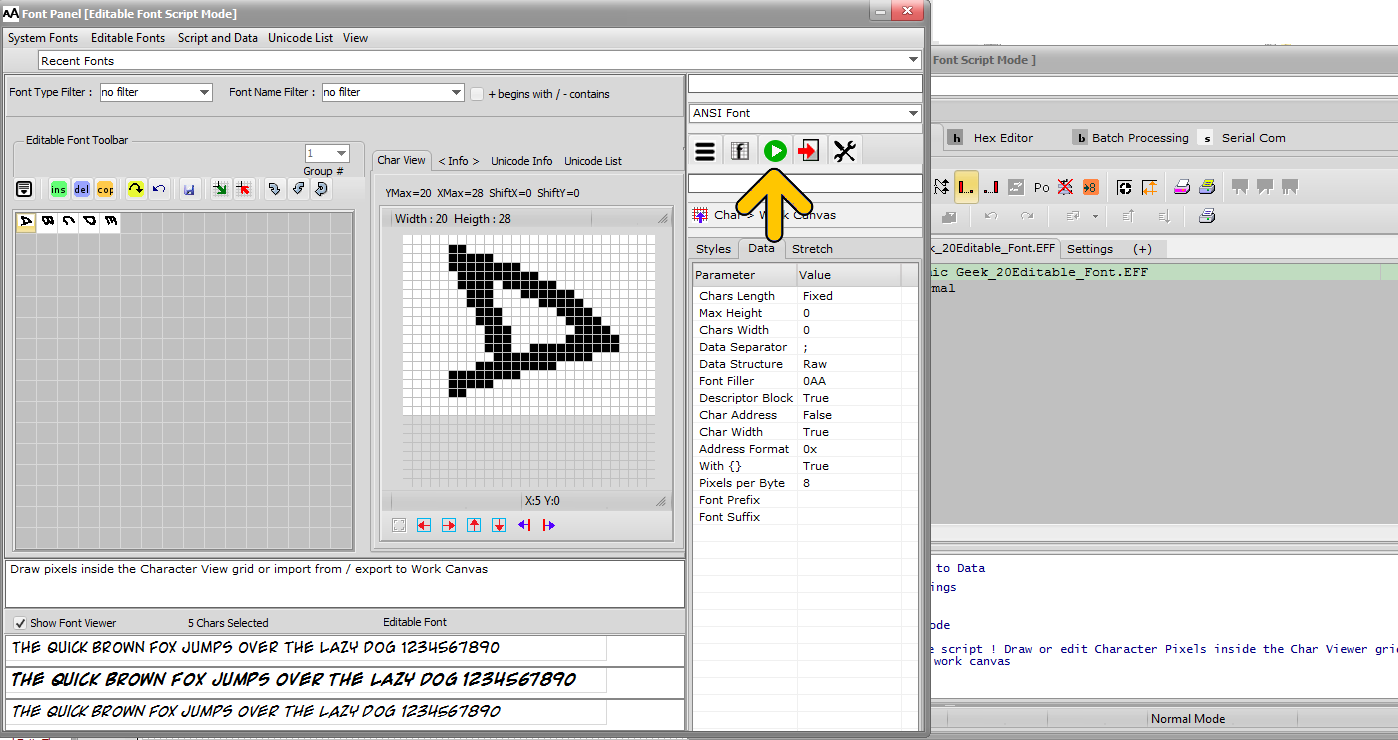
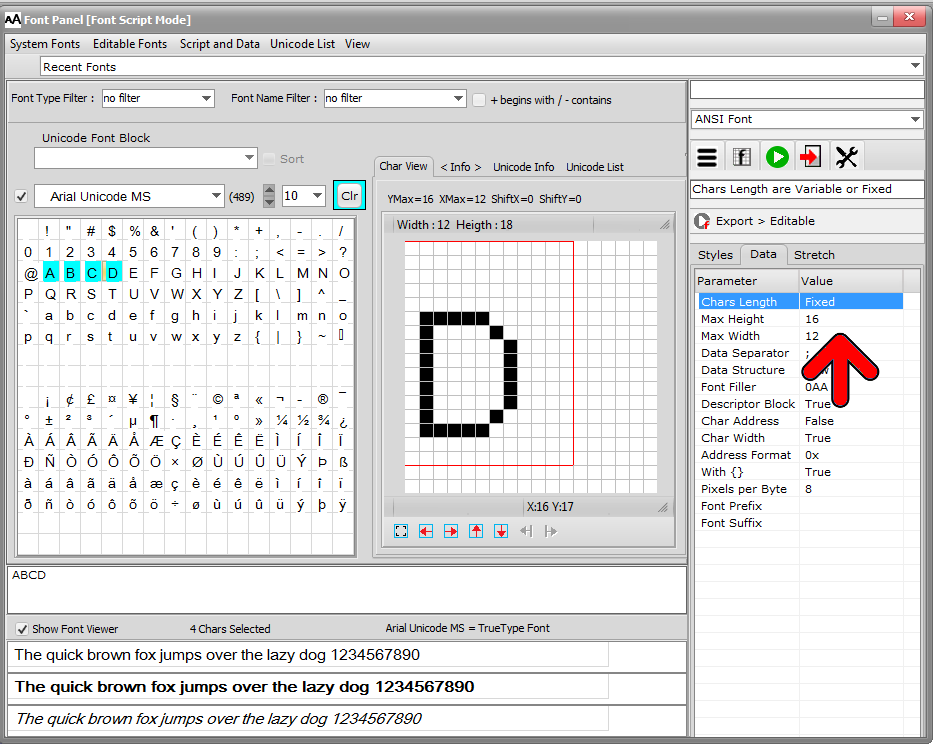
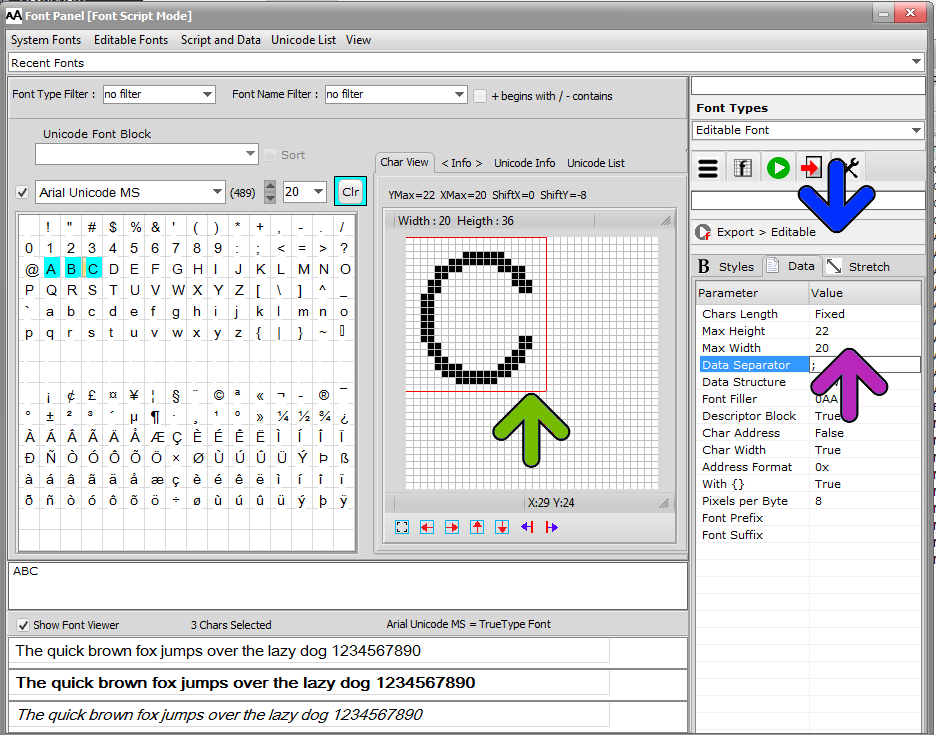
Example 2
In the first example above, the height of the chars is 25 pixels.
This time, we want to limit the Size of chars in Height and in Width and export a Fixed Size Font.
- Change the first 3 Parameters (purple arrow) and you will see a red frame in the char View (green arrow)
- Export To editable (blue arrow)
- You get these editable chars