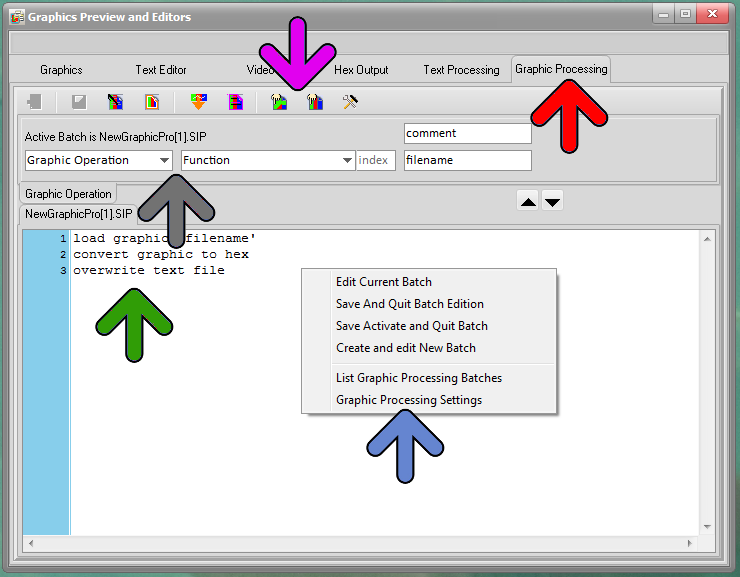
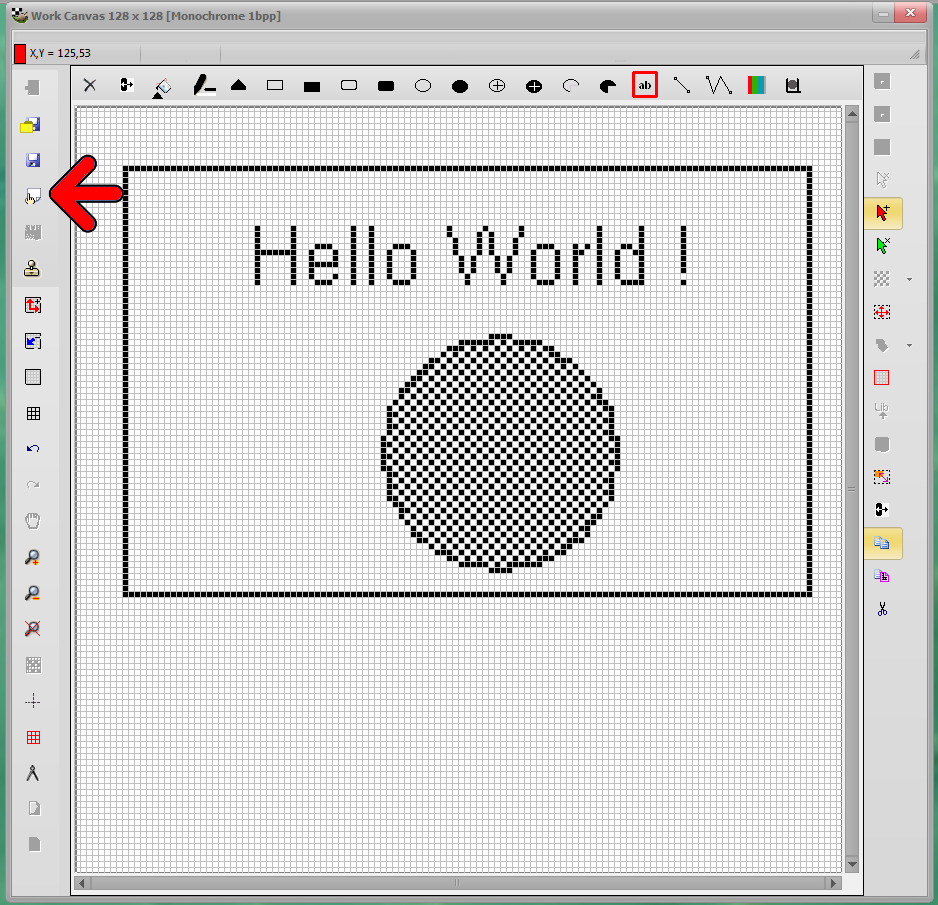
Bitmap2LCD is a tool for programming small Graphic LCDs in embedded systems and a programmable graphic and text processing tool.
From Bitmap2LCD V2.9 and upwards
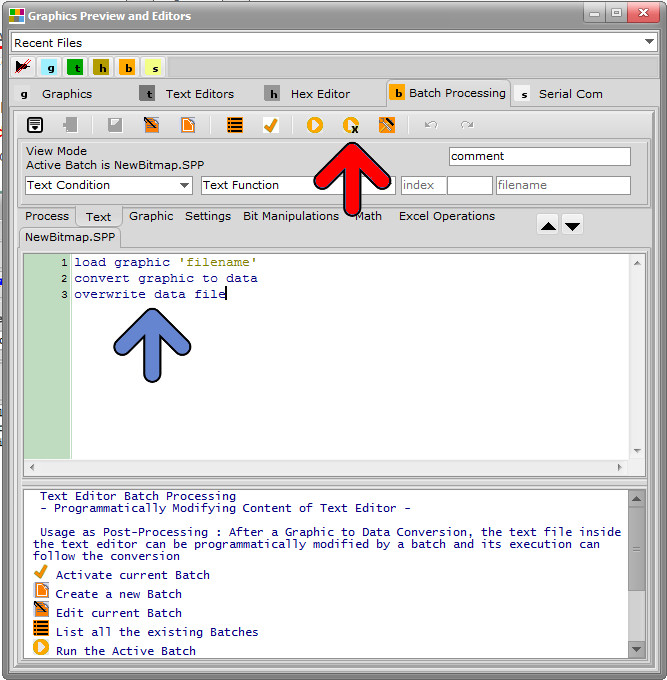
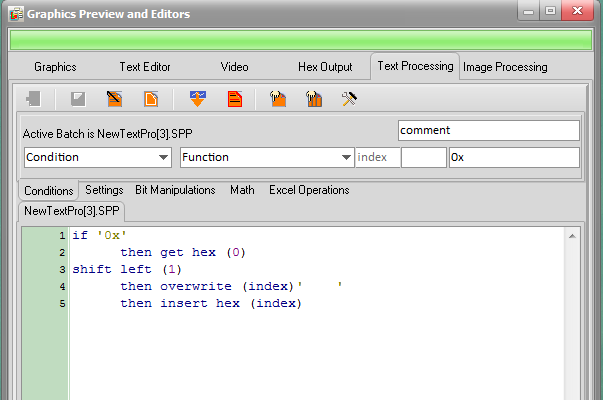
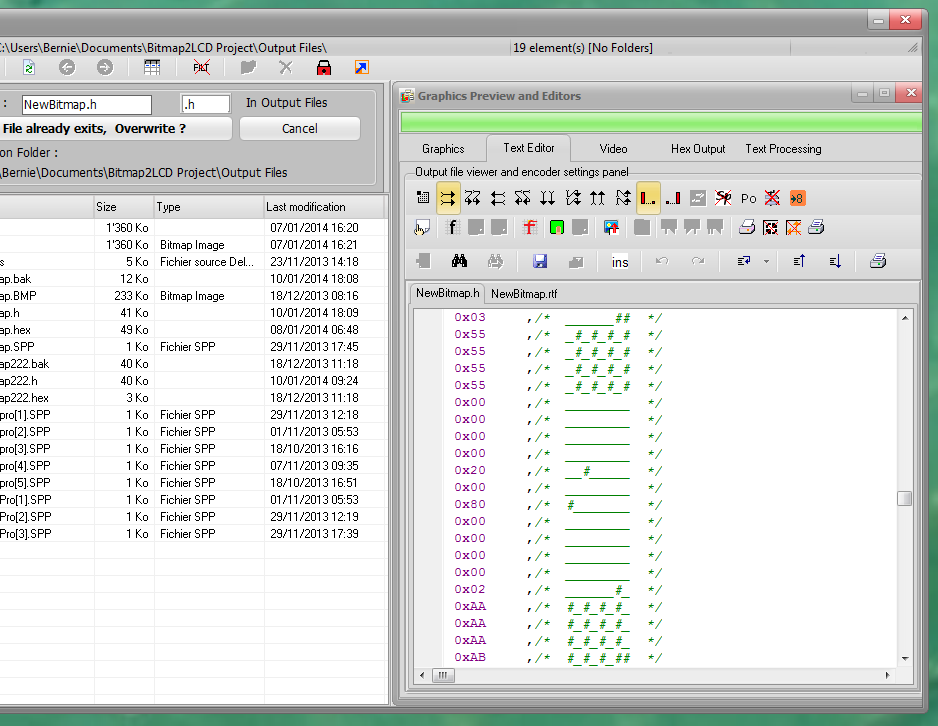
Bitmap2LCD : Text Processing Functions
Note : Additional Processing functions will be implemented in the future
The batch conditions and functions listed below, are available for programaticaly modifying the text editor content. A condition block (IF.. / WHILE..) can be followed by one or more functions (THEN..) A single condition block applies from the first to the last line to the whole text editor content. Next condition block again applies to the whole editor content…
Internal Batch System Variables
The batch system has internal variables holding informations such as :
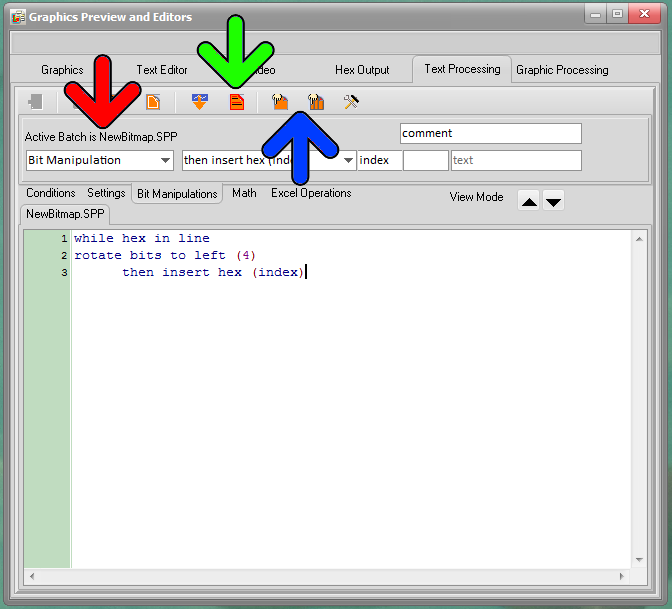
Internal Index : The char index (or position) in the text editor line, where a ‘text’ or an other data has been found. This internal index can be used in a following ‘then’ function by letting ‘index’ as it is next to the function (= no index number)
Internal Text Buffer : A text buffer where lines can be copied to
Current Hex Value : The last Hex value found for example by the get hex function
Hex Length Value : The Length of a hexadecimal value
Current Integer Value : The last Integer value found for example by the get integer function
Current Float Value : The last floating point value value found for example by the get float function
Current Flag : A boolean status flag ( True or false )
Undefined Conditions
if unconditional
Unconditionally Set condition = True , execute list of functions on any text editor line
Hexadecimal Conditions and Functions
if hex in line
Condition = True when a hex string (as user defined in the configuration settings ) is found in the line ( A hex value is defined by its prefix or suffix ( for example prefix like 0x or $ or a suffix like h
while hex in line
Condition is and remains true while a hex value is found in the line, usefull for example, in a line of 16 hex values.
then get hex (index)
If condition was True, gets the hex value specified by index ( first hex value index being index = 0 ) Internal Index variable holds the char index where the hex value has been found.
then insert hex (index)
If condition was True, Inserts the current hex value in string on position specified by index.
If no numeric index specified, inserts hex on Internal Index value.
then overwrite hex
If condition was True, overwrites the current hex value in string on position on current index position.
Text and Conditions and Functions
if ‘text’
Condition = True when the defined string under ‘text’ is found in the line
Internal Index variable holds the index where ‘text’ has been found.
if not ‘text’
Condition = True when the defined string under ‘text’ wasn’t found in the line
while ‘text’
Condition is and remains true while the defined string under ‘text’ is found in the line
Remark : The defined ‘text’ might be deleted or modified in a function afterwards to prevent a loop without end.
and ‘text’ , and not ‘text’ , or ‘text’ , or not ‘text’
self speaking conditions, to extend if conditions
then overwrite (index) ‘text’
If condition was True, overwrites text editor line from index position with specified ‘text’
Uses internal index value if index was’nt specified
then insert (index) ‘text’
If condition was True, inserts in text editor line from index position the specified ‘text’
Uses internal index value if index was’nt specified
then remove ‘text’
If condition was True, removes in the text editor line, the specified ‘text’
then delete until ‘text’
If condition was True, deletes chars in the text editor line from the internal index position to the position of ‘text’
Line Number Conditions and Functions
if line number (index)
Condition = True if line number of text editor has been reached
if last line
Condition = True if last line of text editor has been reached
then delete line
If condition was True, deltes the current text editor line
then next line
If condition was True, jumps to the next line of text editor
then insert line
If condition was True, inserts a line at current line of text editor
Flag Conditions and Functions
if flag
Condition = True when flag was previously set
if not flag
Condition = True when flag was’nt previously set
then set flag
If condition was True, gets then sets the flag
then set flag
If condition was True, then clears the flag
and flag , and not flag , or flag , or not flag
self speaking conditions, to extend if conditions
Other Conditions and Functions
then save as ‘file’
If condition was True, then copies the content of the text editor as it is now to a filename defined under ‘file‘ in the user defined Output Files Path ( Note : No path or folder allowed in ‘file’ )
then start delete
If condition was True, then sets a start of deletion flag at current text editor line
then stop delete
If condition was True, then , if start delete has been found upwards in the text editor, deletes all the lines from Start to Stop delete position.
then start copy
If condition was True, then sets a start of copy flag at current text editor line
then stop copy
If condition was True, then , if start copy has been found upwards in the text editor, copies all the lines from start to stop copy position to the internal text buffer
then save copy as ‘file’
If condition was True, then copies the content of the internal text buffer to a filename defined under ‘file‘ in the user defined Output Files Path ( Note : No path or folder allowed in ‘file’ )
then load and insert ‘file’
If condition was True, then loads an external text file defined under ‘file‘ located in the user defined Output Files Path and inserts the text into the text editor ( Note : No path or folder allowed in ‘file’ )


