click on screenshots to enlarge

Click on images to enlarge

Home Page
Features
( Depends of Editon : BASIC , STANDARD ( full software) or Extended
Native easy to install Windows software application
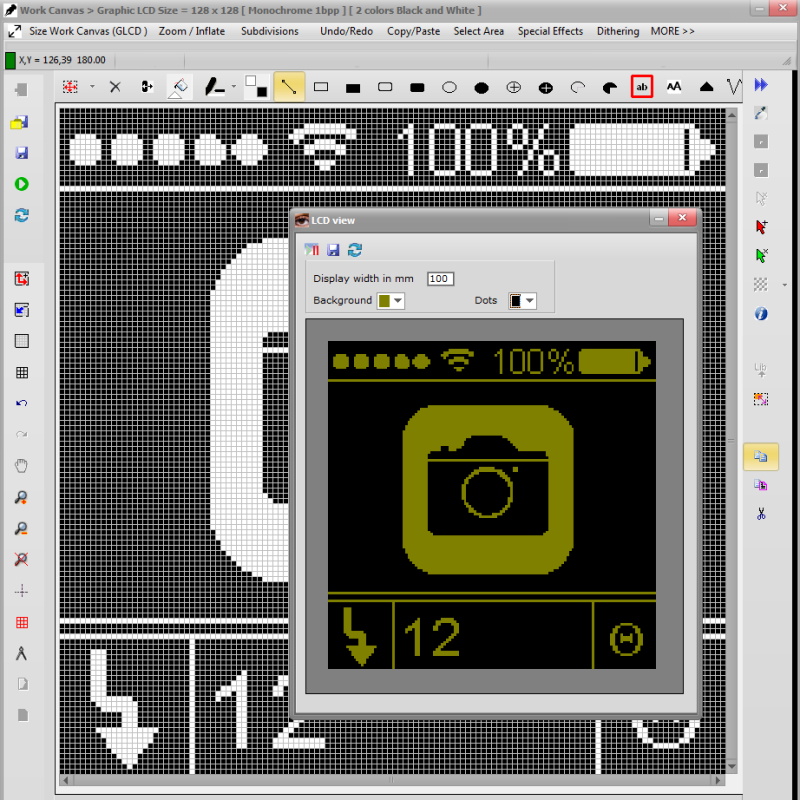
GRAPHIC EDITOR AND COLOR DEPTH CONVERTER for
Monochrome GLCD
2,4,5 * and 16 bpp grayscale (2,16,32 and 256 gray shades) GLCD
8 Colors (3bpp) GLCD
16 Colors (4bpp) GLCD
256 Colors (8bpp) GLCD
4096 Colors (12bpp * ) GLCD
65K Colors (16bpp) GLCD,
252k (18bpp * ) GLCD
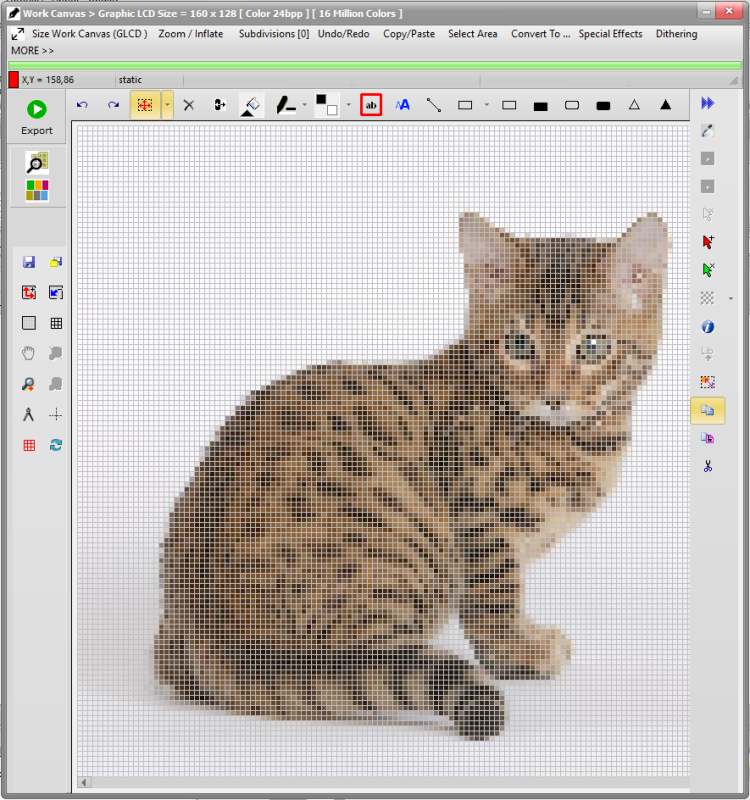
16M Colors (24bpp * ) GLCD
* packed and unpacked data
Dot matrix sizes up to 1024 x 768, supports BMP,JPEG,PNG,ICO,TIFF,GIF animation
COLOR TO BLACK AND WHITE CONVERSION
Easy conversion of color images to black/white with treshold level trackbar slider or Dithering
Floyd Steinberg , Nearest, Stucki, Sierra, JaJuNi, Steve Arche, Burkes
EXTENDED EDITION
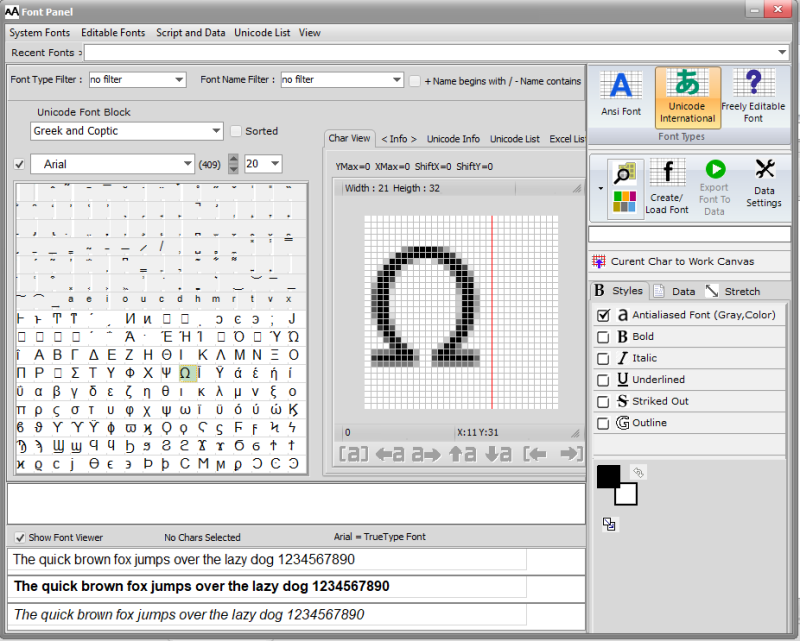
Font Generator : Font specific Kerning pairs Table export to code
Font Generator : Selectable international ANSI Codepage
GLCD VECTORS
( For example GLCD.GotoXY(0,0) )
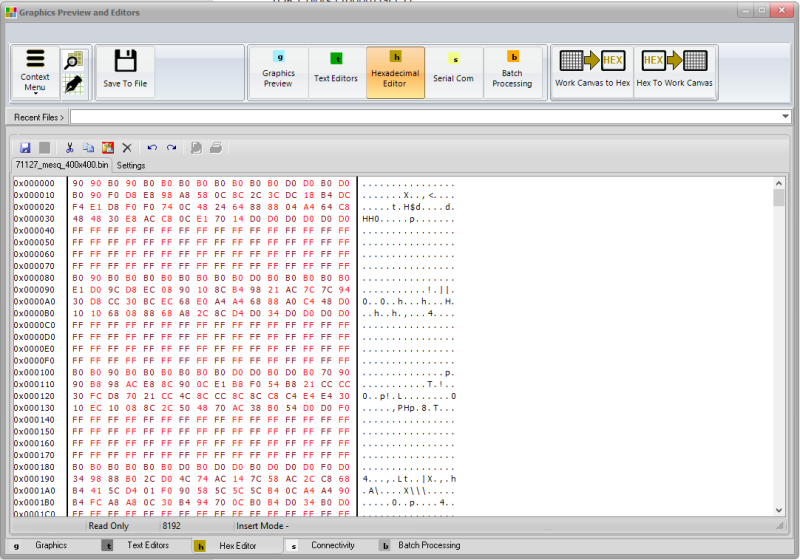
DATA ARRAYS AS OUTPUT AND AS INPUT (input > monochrome)
Generate GLCD Data arrays full screen, part of screen, screen subdivision
Data to text file, Intel Hex File, Binary File, 8,16 and 32 bit format
Imports Data Arrays of source files and convert data to bitmap inside the Work Canvas (monochrome only) [LINK]
GLCD FONTS
GLCD Font Editor / Creator / Generator , Import and convert system fonts, edit and generate system or Editable fonts (up to 256 colors), create fonts from scratch
TOUCH PANEL / TOUCH SCREEN
Easy graphical Touch Panel / Touch Screen regions programming (resolution 8,10 or 12, 16 and 24 bit ) [LINK]
SERIAL COM
Serial Communication Terminal ( Virtual Comport, USB to RS232 )
GLCD ANIMATION
GIF Animation editor & Sequence player.
Easy settings for output of data array for C , Pascal, Basic or assembler codes, the development tool you use for your favorite embedded system. Whole Animation is converted to GLCD data in one single run.
SEARCH AND REPLACE FEATURE, BATCH PROCESSING
Automatic Text Search and Replace , Text and Graphic Batch Processing features ...
Tutorials/ Learning
Home
Contact
Trial Software
Licensing
Presentation

Search on this Website >>
Graphic Programming Tool for small Graphic LCD (GLCD)
Monochrome, Grayscale, Color
Copyright bitmap2LCD 2006-2023